Add a property
Start with the address and property type. You can return to fill in missing details later, without replacing the in-app setup checklist.
Open Properties → Add Property
Choose Add Property to open the property form. The button below opens the same form, subject to your plan’s property limit.
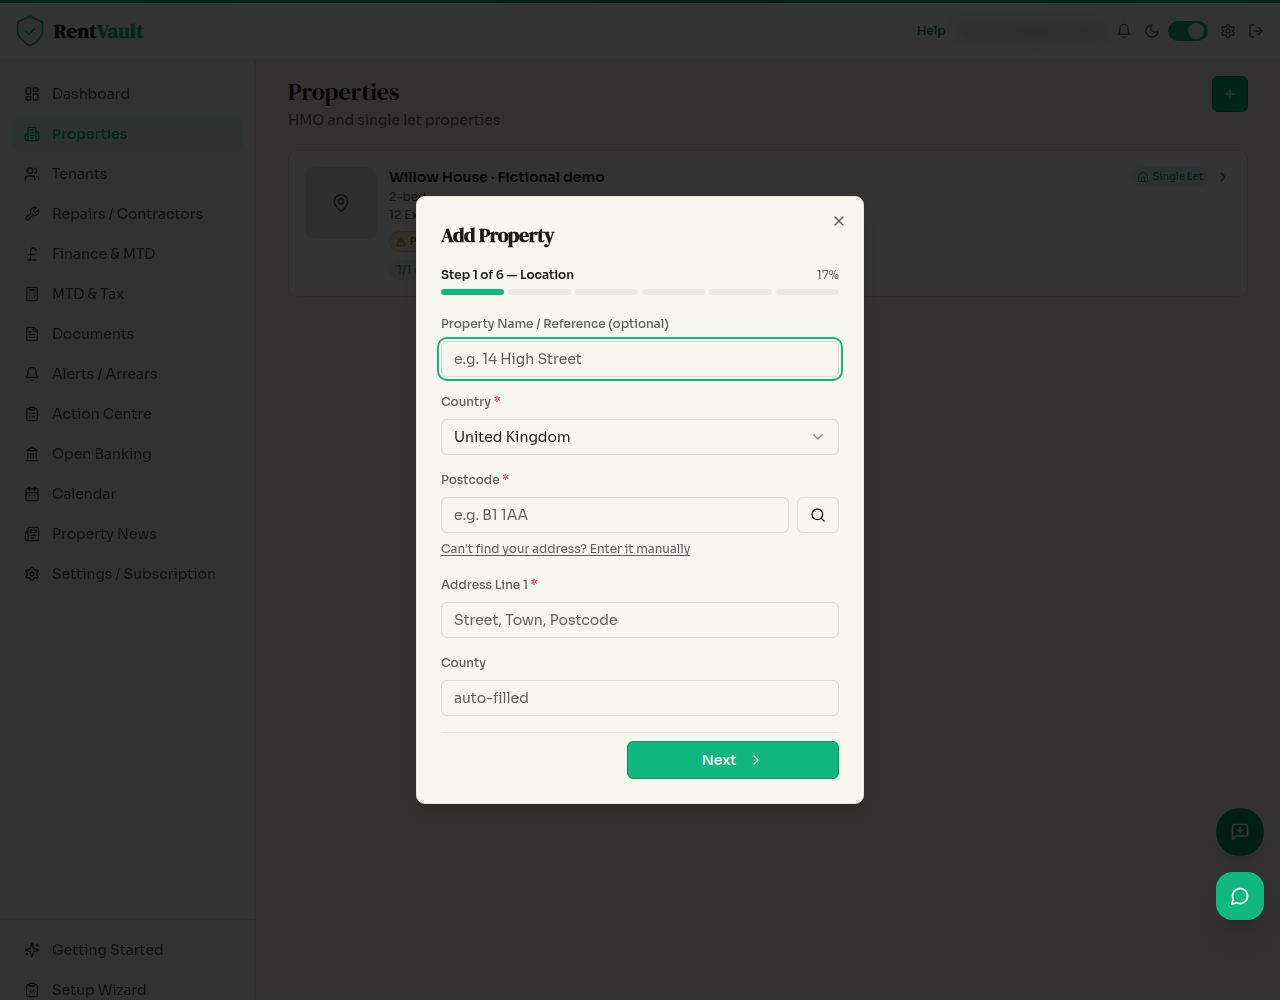
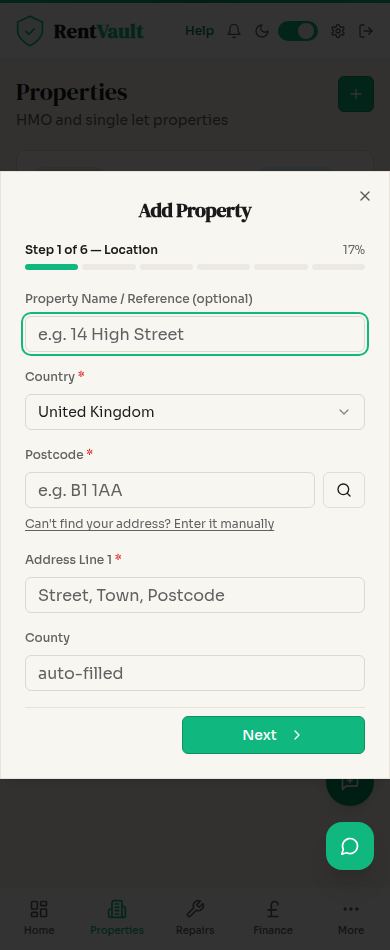
Complete Location
Use the postcode lookup to find the address, or enter it manually. Check the country and address before continuing.
Choose Classification
Select Single Let, HMO or Short Let as appropriate. Your classification sets up the room layout, so choose the type that reflects how you let the property.
Work through the property details
Complete Size & Configuration, Features and Financial Setup as needed. Check the information rather than accepting a suggested value without review.
Add certificates now, or return later
Use Compliance & Documents for certificate dates and supporting files. If you do not have them to hand, return to the property record later.
Select Add Property
The “Property added!” confirmation means the record has been saved. Open the property to check its details and continue setup.
A saved property record is a starting point, not proof that all applicable landlord obligations have been met.
Screenshot guide
The property setup form
Open Properties — sign in to use the app.
Need more help? Read how to use Iain, or email hello@rentvault.co.uk.